
Playable Driving Game with Geometry Nodes
Apr 21, 2024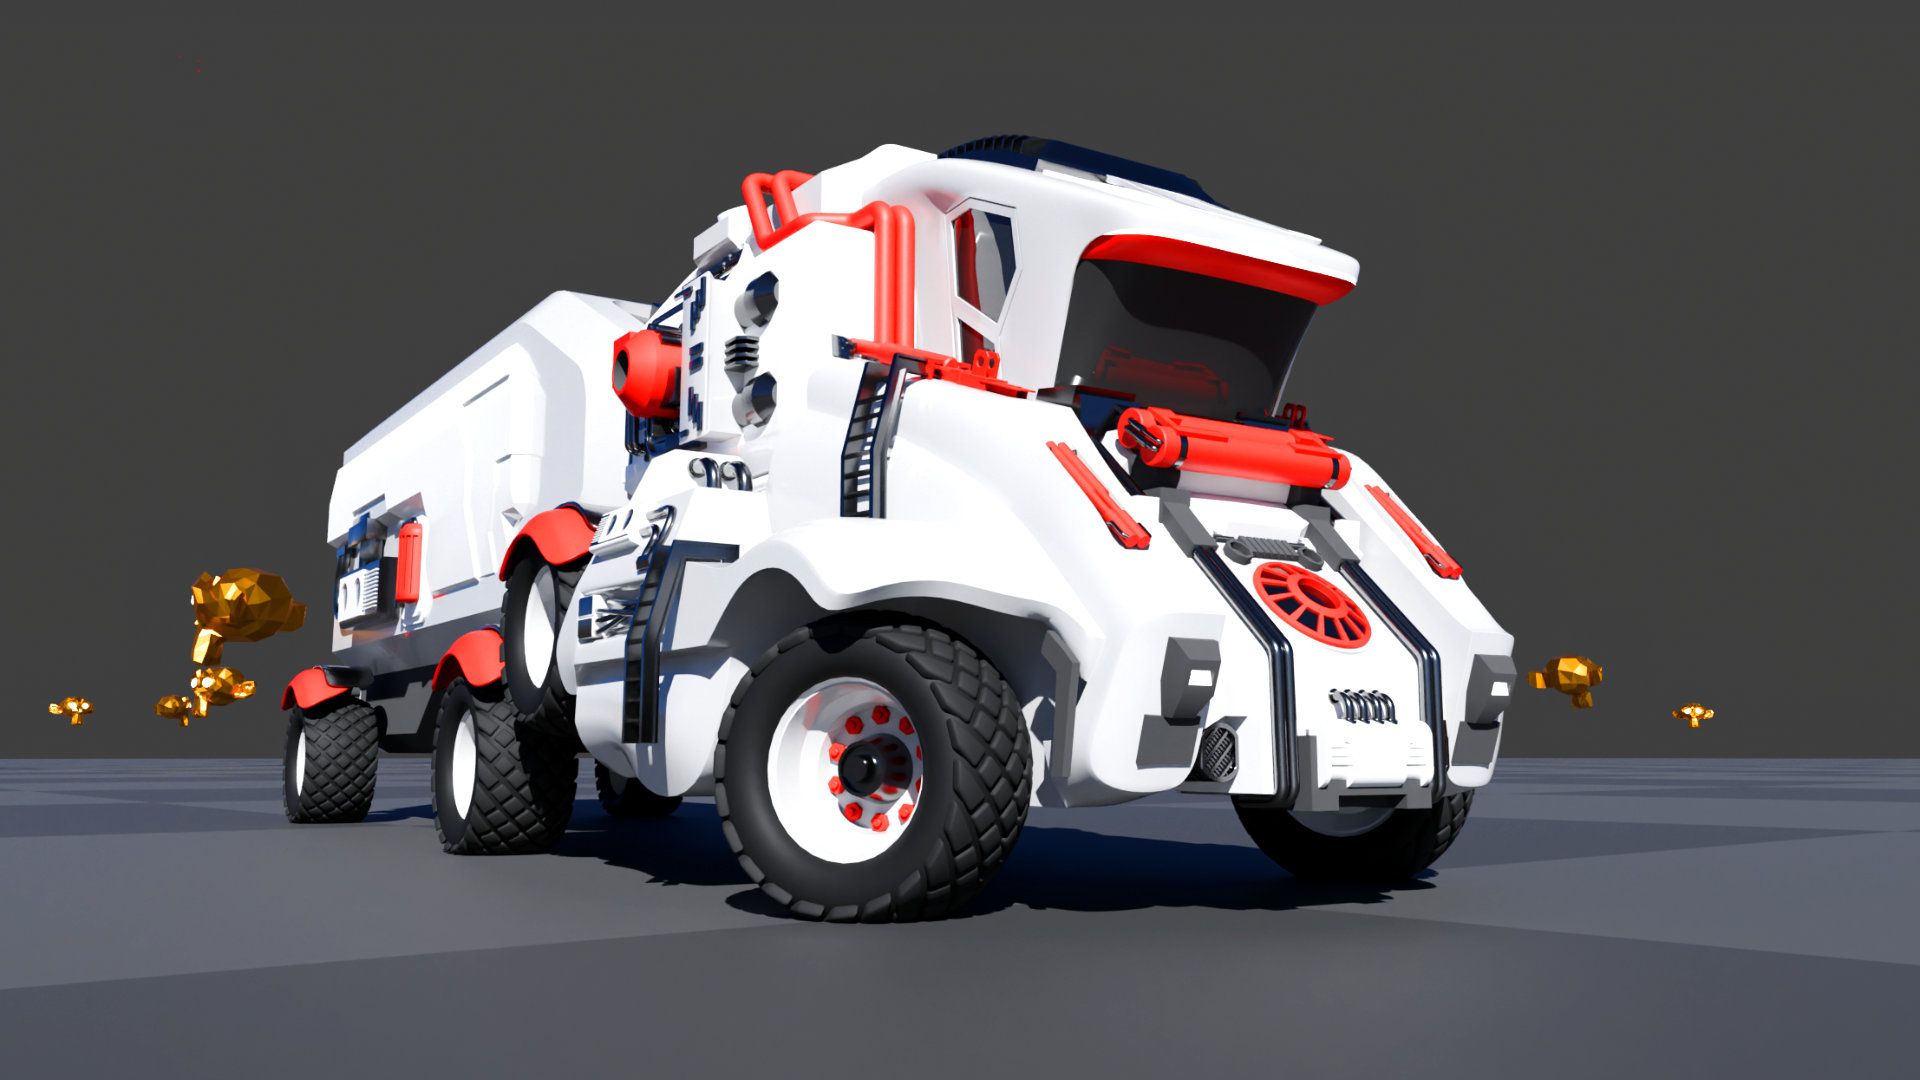
Blender hasn't had a native game engine since 2.79 which is a shame until you realise that actually, we have simulation nodes. This might not seem like a logical connection but hear me out, a game engine simply reads data about the scene and advances to the next frame processing data through various algorithms. Simulation nodes, takes the state of the previous frame and processes it through some various algorithms.
Ergo, simulation nodes == game engine!
The only thing missing is going to be controller support but that's easily remedied with a quick addon.
So here's a free course on how to turn Blender 4.X into a fully featured driving game using only Geometry Nodes to handle all the game logic.
You'll learn how to:
🚛 Control Blender live with a gamepad
🛻 Create realistic steering and movement mechanics
🚚 Generate a trailer train of any length
🚗 Create a terrain with LODs
💥 Collide with any arbitrary object
📸 Custom follow cam controls and positions
💯 Keep track of score and build a functioning UI
Why create a game in Geometry Nodes?
Honestly, it's not something I would encourage in a production setting but it does provide a fantastic platform for exploring, learning, and playing with the node system! Learning about simulation zones, how data flows in geometry nodes, and how to handle non-geometry objects, such as cameras, procedurally.
Check out the full playlist here

Lesson 1: Controller Support
To begin our free course into building a driving game live inside Blender (without a game engine) we're going to need to find a way to get a gamepad working.
Fortunately, I crossed this bridge already and made an addon (windows only) that reads gamepad controls during a modal operator, and sends the data (via drivers) into a node group in geo nodes.
From there, you can do anything you want. Data is data.
Have at it!
Here's the addon: https://github.com/Erindale/XinputReader
Watch the tutorial here: https://youtu.be/v1Q4SWGgKM0

Lesson 2: Chassis, Trailers, and a Game Manager
Geometry Nodes is not a game engine.
I know you didn't think it was but seeing as this is exactly how we're using it, it's worth remembering.
For us to get around the limitations and lack of optimisation we're facing, we need to be very smart about how we pass around data in order to get a performant, fun, playable game at the end of it.
Fundamentally, this means compartmentalisation and clean inputs.
The entire game is a handful of splines. Each spline point represents an axle of the vehicle and each spline point contains the entire specification of the vehicle. Working this way means that, even when we have a long trailer chain, Geometry Nodes might only be processing a few floats and vectors on 10 points? Well within it's limits!
But we don't want to just have splines. That's where the compartmentalisation comes in. With a bit of planning, it's easy to break up any system into a range of objects thanks to Object and Collection Info nodes. We'll use these to instance the vehicle meshes, camera controls, UI elements etc on separate parts.
Keep the data clean. Keep the game fast.
Watch the tutorial here: https://youtu.be/DQI2NREtQvI

Lesson 3: Movement and Steering
In this part we're going to address the fundamental driving mechanics for our game - acceleration, braking, and reversing.
As we're working inside a simulation zone, we can actually do all of this fairly easily as we just need to manipulate a few attributes on our splines.
Unfortunately, behaviour such as drifting is not possible with the method we're using here as we're not computing any kind of inertia etc. The driving is kept quite simple and arcade-y in our project HOWEVER that definitely doesn't mean that you can't extend this yourself!
This is the geometry nodes we all love and we have all of that good, low level data in our driving game so whatever you want to implement, you probably can.
Check out the lesson here: https://youtu.be/LcITThZizHo

Lesson 4: Adding a Vehicle Model
It's time to define the visual model for our vehicle!
Up till now, we've just been working on splines and cones to debug wheel direction. The next step is going to be instancing our vehicle parts where we want them.
The beauty of this setup is that there's almost no limits to what you can build for the vehicle model. As it's only being instanced and geometry nodes never actually needs to process the mesh directly, it's extremely performant.
Because we're doing all of this with named attributes on the chassis as well, it means that we can have lots of fun, such as adding or removing meshes when picking up collectibles (more on collectibles in a later lesson!), or altering shaders eg turning on or off lights etc.
Check out the lesson here: https://youtu.be/pEfLEtWwrUc

Lesson 5: Terrain and Collisions
We've been driving in space for the last 4 sessions but now it's time to add some terrain and a collider system.
There are many ways to do this but we're keeping it as simple as possible to keep gameplay as smooth as possible.
While basic, this is still very flexible and gives you a foundation on which to build up a much more visually exciting environment.
Check out the lesson here: https://youtu.be/sWITHSTWRSo

Lesson 6: Keeping Score
For this to graduate from interactive experience game, we need some objective. That's where scoring comes in.
In this session we're going to be creating a score manager that handles instancing collectibles, and tracking how many have been collected.
If you had a mind to, you could extend this behaviour so that the score could actually effect something (eg changing a shader to show how full the trailer is, or instancing collected items in the trailer to show they're picked up). The sky is the limit.
Check out the lesson here: https://youtu.be/rAiQUxuJv7o

Lesson 7: Camera and UI
It's the final countdown!
In this last session we're going to be learning to set up a camera system and UI.
For the camera, we want to be able to define specific points based on our vehicle and then use these to position the scene camera in space. But how do we do this? Geometry Nodes can't control camera objects...
As well as that, we want to have sideways control using the controller to look around rather than being fixed.
Once the camera is set up then the final thing on the agenda will be UI to track time, and show how many of the collectibles we've gathered.
Check out the lesson here: https://youtu.be/hG-wXX-7OZA
